
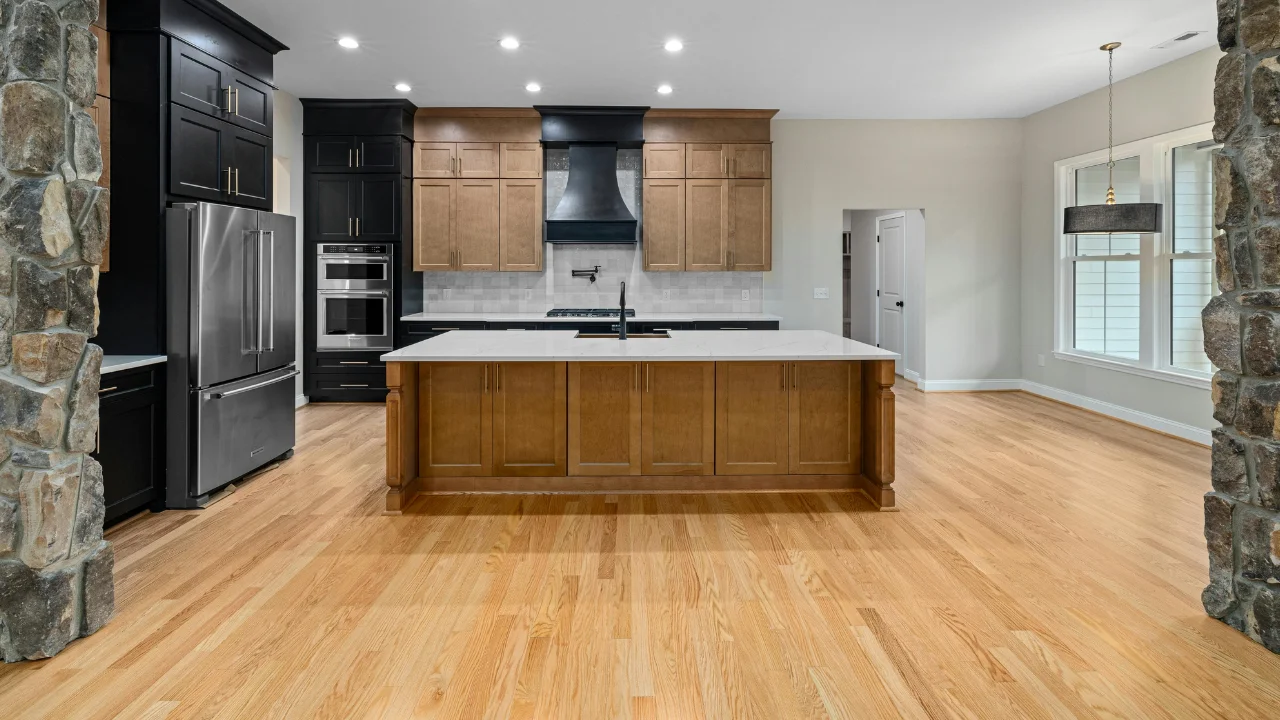
If you have never replaced a floor before, the process can feel like a black box - you pick something you like, a crew shows up, and you hope for the best. It should not be that way. Good flooring installation in La Crosse, WI follows a clear sequence, and knowing the steps ahead of time makes it easy to spot a contractor who is cutting corners. Here is how a project actually runs, start to finish.
Step 1: The free in-home estimate
Everything starts with a measure. A real estimate happens in your home, not over the phone, because the price depends on things nobody can see from a photo: the square footage, the condition of the subfloor, whether the old floor has to come out, and how the layout flows from room to room. We bring samples so you can see materials in your own light, measure every room, and check the subfloor for flatness and moisture. You leave with a fixed, itemized number - not a per-square-foot guess that balloons after demo.
Step 2: Choosing the material
This is the fun part, and it is where honest guidance earns its keep. The right floor depends on the room and how you live in it - hardwood for main living spaces you plan to keep, luxury vinyl for basements and busy family homes, tile for wet areas. You can see the full range on our flooring services page. A good installer will sometimes talk you into a cheaper material when it is the smarter fit, because the goal is a customer for the next project, not the biggest single invoice.
Step 3: Scheduling and material lead time
Once you approve the quote, the material gets ordered and a start date is set. Most in-stock products are ready within a week or two; special-order hardwood, tile, or custom carpet can take longer. For solid hardwood, part of that window is acclimation - the wood needs to sit in your home for several days so it adjusts to your indoor humidity before a single board is nailed down. Skipping that step is the number-one cause of hardwood floors that cup or gap later, so it is built into the schedule, not treated as optional.
Step 4: Removal and subfloor prep
On install day, the old floor comes out first. Carpet pulls up quickly; glued-down vinyl or old tile takes longer. Then comes the step that separates a floor that lasts from one that fails: prepping the subfloor. That can mean leveling a dip, adding a moisture barrier over a slab, or replacing a soft spot. It is not glamorous and you will never see it once the new floor is down, but it is why the finished floor is flat, quiet, and stable through La Crosse winters.
Step 5: Installation and the final walk-through
Material has to be on site and acclimated before this stage, and ordering the right quantity is covered in how much flooring you actually need. Where one material meets another is worth deciding before this day rather than on it, and where one floor should stop and the next should start covers it. With the subfloor ready, the new floor goes in. A single room is usually one to two days; a whole home runs three to ten depending on material and square footage. Site-finished hardwood adds a few days for sanding and finish coats. When it is done, a good crew does a walk-through with you - checking transitions, trim, and any spot you want a second look at - and cleans up so the room is ready to live in. Our workmanship is backed by a lifetime warranty on every install we manage, so if something moved or settled, we come back.
Two decisions that come up on every install have their own guides: what happens to the baseboards and, if the room is being painted too, whether to paint before or after the floor.
That is the whole arc: measure, choose, schedule, prep, install, walk through. We run this same process for homeowners across La Crosse, Onalaska, and the wider Coulee Region. When you are ready to see real numbers for your rooms, the in-home estimate is free and there is no pressure attached to it.